How do we provide actionable data?
Weather
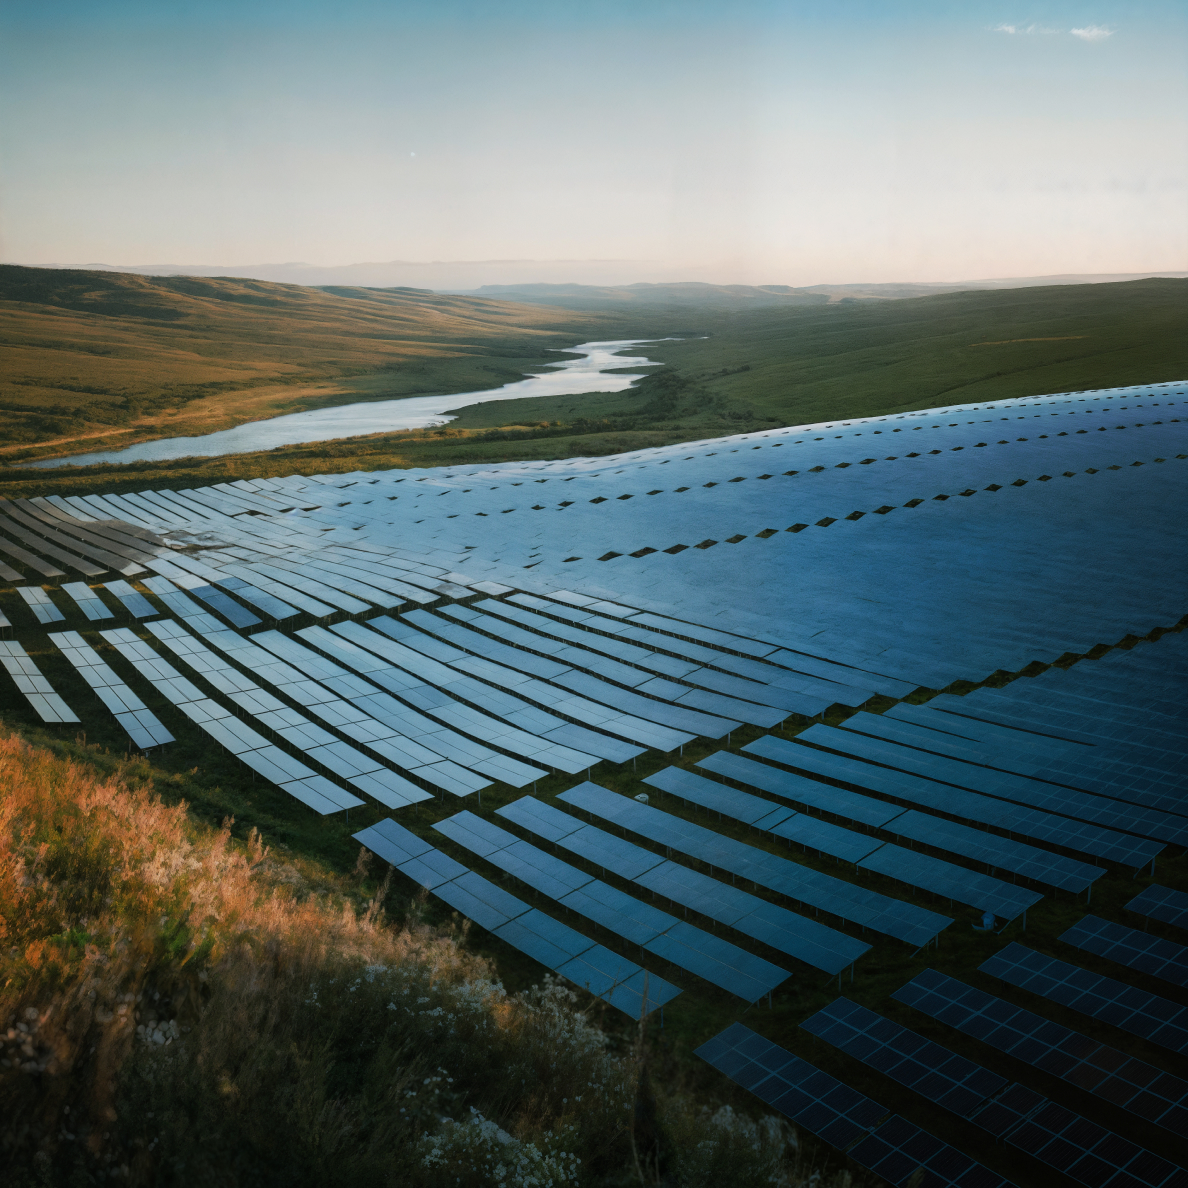
For a solar farm inspection, weather is a big topic of conversation. A sky free of clouds is the most ideal weather condition. This sets the table for a variable-free inspection.
Timing
The angle of the sun is a big factor in inspecting these panels. We need the sun to be shining on the panels, not grazing them at an angle. For this reason, a typical window of surveying is 9AM-3:30PM, or 10AM-4:30PM in daylight savings time. Solar noon is an important keyword during your inspection which I'll detail in the next subtopic.
Solar Noon
Solar Noon is a simple term referring to the time when the sun is at its highest point in the sky (aka zenith). For surveying before solar noon, you must have the panels pointed -15deg Eastward (toward the sun), and for after solar noon -15deg Westward. This ensures your panels are flat but also in line with the angle of the sun.
Panel direction
As mentioned above, the morning panels face east and the afternoon panels face west, but how do we make that happen? Oftentimes, you will receive a point-of-contact (POC) that will assist you in your survey. The POC is the only one authorized to manipulate the panels. For this reason, it's important to touch base with them earlier in the morning to inform them what panels will be surveyed and at what time. It takes about 10 minutes to turn these panels and we don't want you to wait around for that to happen. A simple text in the morning with your mission list and notes of "before solar noon, after solar noon" should suffice.
Takeoff Point
Once you're next to the panel block you intend to survey, establish your takeoff point at the highest point of elevation in the block. Take a quick visual of possible obstacles to your takeoff (including people that may approach). At this point you should know whether or not elevation optimization will be used (consult your project coordinator about this if you're not sure what I mean).
Typical SOP
Once you're at your takeoff point, refer to your typical SOP or go to my other eBook on typical SOPs. This involves a pre-flight checklist (the night before), checking airspace, pilot health, crew health, aircraft health, weather and much more. Never underestimate the power of this step…
Parameters
Input the specific parameters instructed to you by your project coordinator. This should be an entire list of settings preferred. Some examples include: GSD, Overlap, Color Pallette, Resolution and many more. This is arguably the most important step to delivering actionable data. Take extra time to ensure your UAV parameters are exactly what the client is asking for. If you're not sure, contact Raad customer support. Entering the wrong parameters may result in reflies or withheld payment.
Charging
Maintain your pace of surveying by actively charging your batteries. Identify where you're able to charge. This may be a spot provided by the solar farm, or you've brought your own power bank. Either way, be sure to continuously charge to avoid delays. Weather windows come quick on some farms so you'll want to stay on the ball while charging.
Post-Surveying
After completing each mission according to plan, make immediate efforts to back up your data. This typically involves downloading your data into an external hard drive. You want to have two copies of this data at any given time. Directly after your survey you only have one copy, so it's important to get straight to backing-up. Follow any upload processes requested by the client. This could included uploading to their proprietary software or to the Raad platform. Once you've done that successfully, you can format your SD card. Always keep the data on your external hard drive for at least 30 days after the survey.